One of the most common questions we hear is whether a do it yourself travel trailer is a realistic path or an expensive detour. After years of building, repairing, and living with adventure rigs in real Colorado conditions, we have seen both outcomes. A DIY approach can work, but only when expectations, skills, and design decisions are grounded in reality.
Why People Choose a DIY Travel Trailer
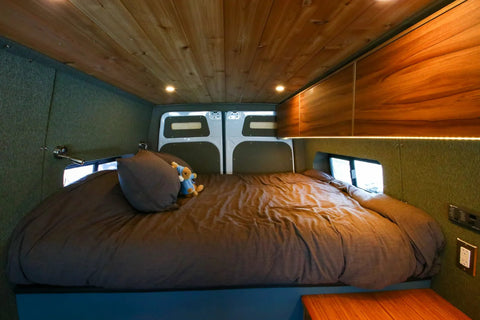
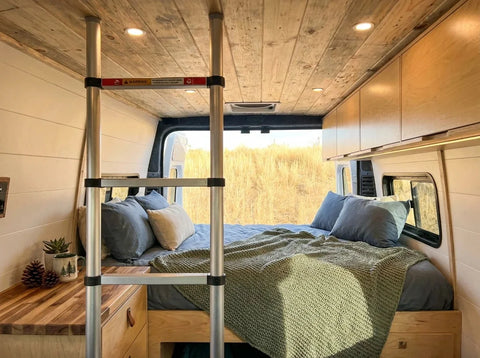
 van conversion features a neatly organized int" loading="lazy" style="display: block; margin-left: auto; margin-right: auto;">
Many builders start with the same motivation. They want control over layout, materials, and function. A diy travel trailer can reflect how you actually travel, not how a brochure imagines you do.
Over time, we have also seen another reason emerge. Some people want to learn the systems. They want to understand weight, wiring, and water because they plan to maintain the trailer themselves for years.
That mindset matters more than tools.
Key Steps in a DIY Build

Before diving into sawdust and sealant, it helps to understand the full scope of building a travel trailer. Each phase depends on the one before it.
Trailer Prep
Start with a rated trailer frame that exceeds your final weight estimate. This is not the place to cut costs. A weak foundation limits everything above it.
Floor Construction
Most builders underestimate floor stiffness. Use marine-grade plywood when possible and seal all edges. (This Old House) Moisture finds weaknesses fast.
Wall Framing
Lightweight framing reduces stress on the axle. Aluminum saves weight but raises cost. Wood is forgiving but heavier.
Roof and Exterior
Curves shed water better than flat roofs. We see fewer long-term leaks on crowned designs, especially after freeze and thaw cycles.
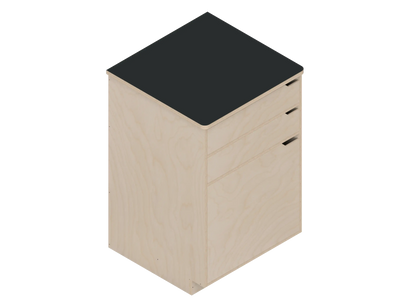
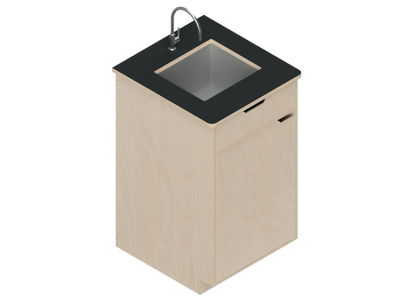
Interior Build-Out
This is where most do-it-yourself camper trailer projects slow down. Cabinetry, wiring, and insulation take time and patience.
Finishing Touches
Trim, sealant, and hardware determine how the trailer ages. Rushing this phase leads to repairs later.
Step-by-Step Construction Guide
Chassis and Frame
A welded steel frame is common. Check axle placement early. Poor balance creates sway and uneven tire wear.
Floor Structure
Bond the floor to the frame, not just fasten it. Adhesive spreads load and reduces flex.
Wall Framing and Sheathing
Sheath walls before standing them up when possible. It improves alignment and strength.
Roof Construction
Use continuous panels to reduce seams. Every seam is a future inspection point.
Electrical and Plumbing
Plan wire runs and access panels before closing walls, just like you would in a mercedes sprinter 2500 high roof or any sprinter 2500 van conversion. Future troubleshooting in a sprinter high roof campervan depends on this kind of forethought.
Waterproofing and Exterior
Seal every penetration twice. Then test with water before interior finishes go in.
Windows and Doors
Install early enough to confirm fit, but late enough to protect them from damage.
Interior Finishing
Keep it simple. Complex curves and custom hardware add time fast.
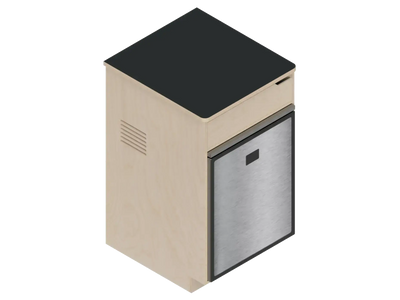
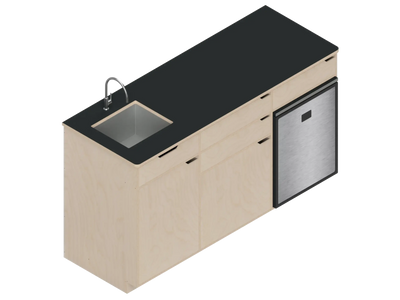
Galley Optional
A galley is often the heaviest interior component. Balance weight side to side carefully.
Building a Tiny House on a Trailer vs a Camper Trailer
Many people ask about building a tiny house on a trailer or how to build a tiny house on a trailer instead of a camper. The difference is intent.
Tiny houses prioritize livability at rest. Camper trailers prioritize durability in motion. Wall thickness, fastening methods, and weight targets are very different.
If you plan to move often, design like a camper. If you plan to park long-term, tiny house logic can work.
Cost and Time Reality
Cost
The basic building of a camper trailer project often costs between $8,000 and $20,000. That range depends on tools, materials, and mistakes.
Budget is another place where reality checks help. A DIY camper trailer is rarely “cheap,” even if it can be less expensive than a factory-built model. Start with a simple spreadsheet and list every major system: trailer frame, insulation, windows, electrical, plumbing, and interior finishes. Then add a 15–20% buffer for the parts you will forget or decide to upgrade mid-build. We regularly see people underestimate wiring and hardware costs. A box of quality stainless fasteners, proper crimp connectors, and heat shrink can easily run a few hundred dollars, but it’s what keeps your trailer together and your systems reliable on washboard roads.
Time is the other hidden cost. A focused, experienced builder might complete a basic DIY camper trailer in 150–250 hours. For most first-timers working nights and weekends, that can stretch into many months. Breaking the project into phases helps: chassis and weatherproof shell first, then basic electrical and insulation, then interior storage and comfort upgrades. Some builders choose to camp in a “phase one” trailer with a simple bed platform and minimal systems, then refine the layout after a few trips. Real-world use will quickly show you where you actually need storage, where condensation forms, and which features matter more than the Pinterest board.
Finally, think about where and how you plan to use the trailer before you cut the first board. A DIY camper trailer built for forest roads in Colorado needs different priorities than one meant for paved campgrounds. If you plan to tow on rough tracks, keep weight low and centered over the axle, choose durable finishes over delicate ones, and protect plumbing and wiring from rock strikes. If you expect winter camping, invest in continuous insulation, thermal breaks around metal framing, and a heat source you can safely run overnight. Matching your design to your actual travel style is what turns a DIY project into a rig you trust, not just a trailer that looks good in the driveway.
Time
Expect 300 to 600 hours for a first build. Most timelines double once real life intervenes.
Pros and Cons
Pros
-
Full layout control
-
Deep understanding of systems
-
Personal satisfaction
Cons
-
Weight mistakes are common
-
Weatherproofing errors show later
-
Resale value is unpredictable
If you decide a full DIY camper trailer build isn’t the right fit but still want a custom, road-ready rig, explore our services to see how we can help.
DIY Kits vs Scratch Build
Kits
Pre-engineered kits reduce guesswork. They help first-time builders avoid structural errors. Options like off-road-focused kits offer solid starting points.
Scratch Built
Scratch builds allow total freedom but demand experience. Most issues we fix later come from early structural choices.
At The Vansmith, we see many DIY builders eventually ask for professional help with systems, repairs, or redesigns. That hybrid path is common and sensible.
Practical Tips from the Road
Plan Thoroughly
Design on paper until problems appear. Fix them there.
Use a Solid Base
Overbuild the frame. Underbuild everything else.
Focus on Weight
Track weight weekly. Guessing leads to failure.
Start Simple
You can always add later. Removing is harder.
Common Pitfalls We See
Overweight
Excess weight affects brakes, tires, and safety.
Water Leaks
Leaks come from rushed sealing, not bad materials.
Underestimated Time
Most builds stall at the interior phase.
Where The Vansmith Fits In
We support many DIY builders through consultations, repairs, and component installs. Some start with trailers. Others transition to vans once they understand their needs.
If you are exploring design your own custom camper van, our team often helps translate DIY lessons into durable, long-term solutions. That perspective comes from years on the road, not theory.
FAQs
Is it cheaper to build your own travel trailer?
Sometimes. Only if you value your time realistically and avoid rework.
Can you build your own camper trailer?
Yes. Many do. Fewer finish without outside help.
Does the 10-year rule apply to travel trailers?
Rules vary by state and campground. Check locally.
Is it legal to make your own trailer?
Yes, but inspections and registration requirements differ.