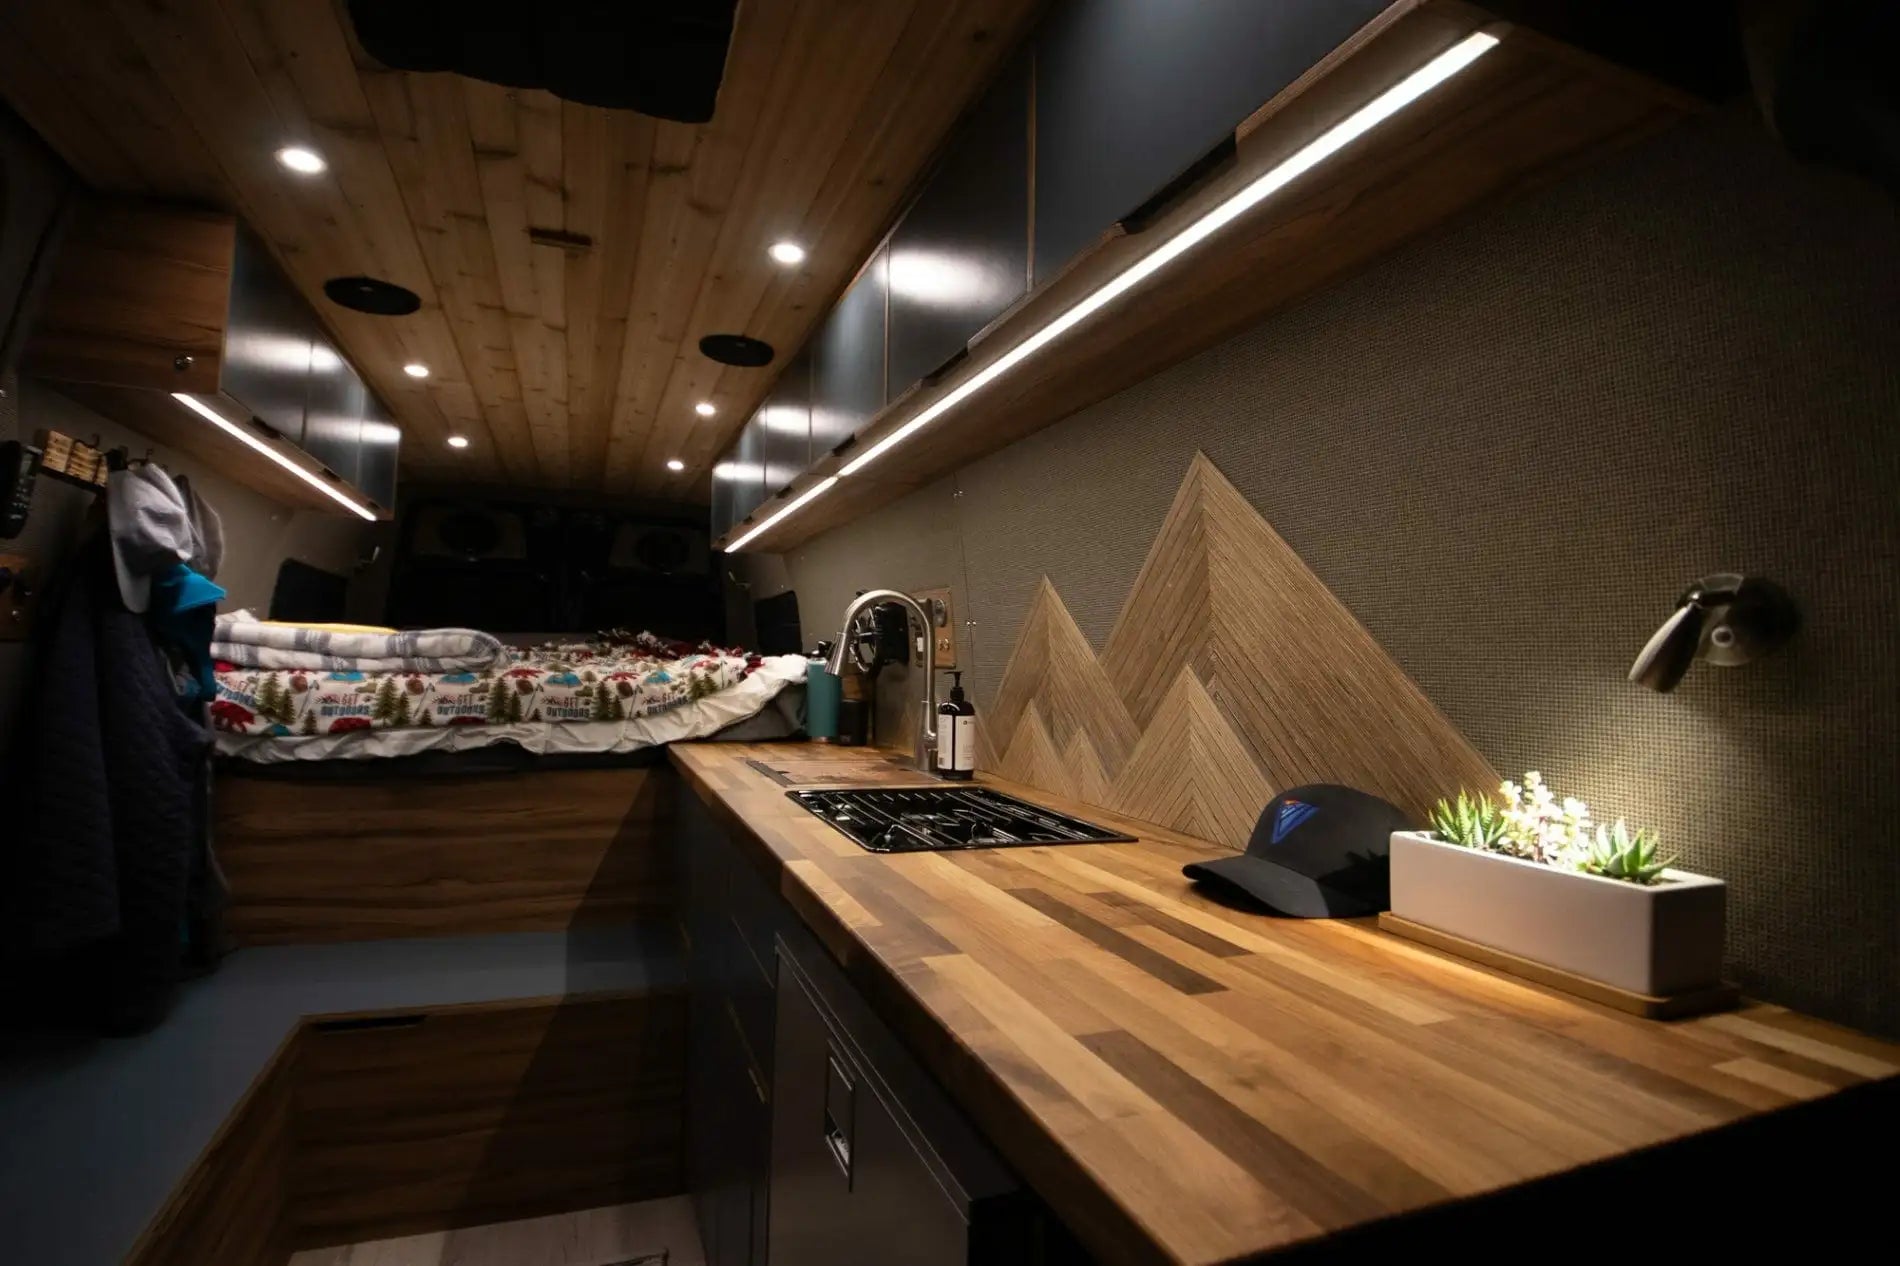
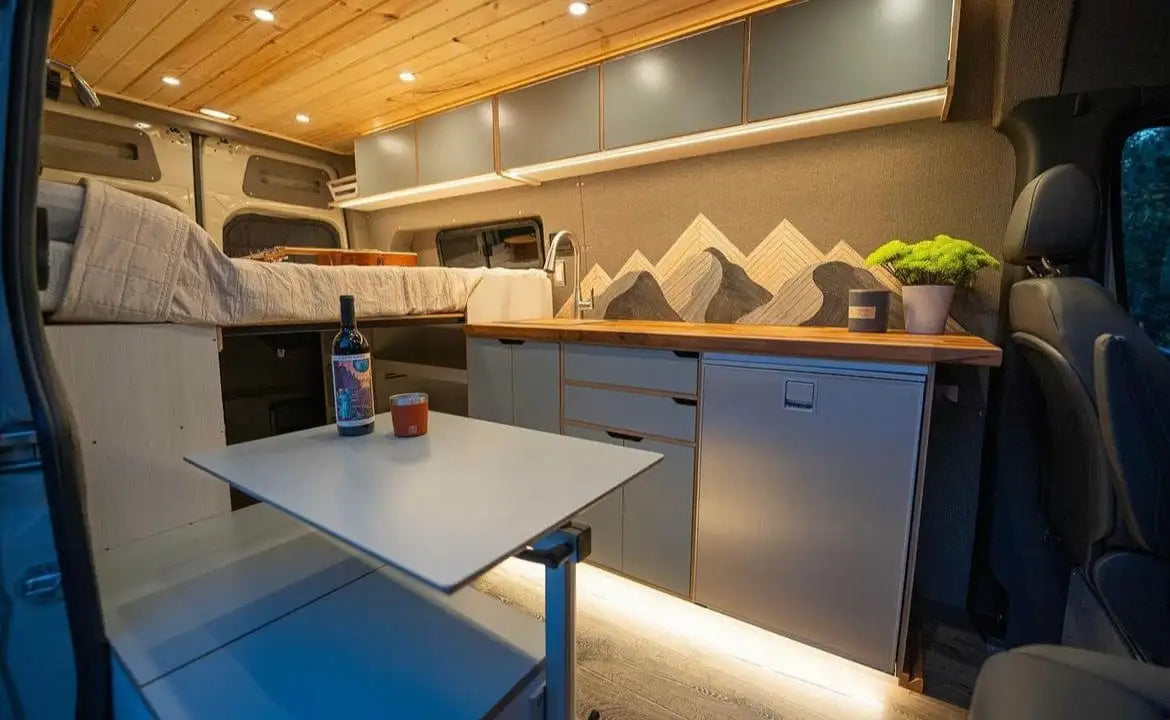


When summer hits hard and the road takes you through sun-baked deserts or humid forests, having a solid vanlife cooling setup can make or break your trip. Installing a 12V AC unit in your vanlife rig is one of the smartest upgrades you can make. In this guide, we’ll walk you through how to choose, compare, and install a 12V camper van air conditioner,step by step.
Why 12V AC Units Are the Future of Vanlife Cooling
Gone are the days of relying on noisy, power-hungry 120V RV air conditioners and questionable campground hookups. Today’s best 12V air conditioners for vans,like the Nomadic X2 or Mabru RV 12000,deliver powerful, efficient cooling without needing shore power or an onboard generator.
Benefits of a 12 volt air conditioner for van setups:
- Designed to run directly off your battery bank
- Super energy efficient (great for solar-based builds)
- Quiet operation for stealth camping or off-grid use
- Easy rooftop installation
Key Factors to Consider Before Buying a 12V AC Unit
Not all van air conditioners are created equal. Before pulling the trigger, here are a few things to weigh:
- Cooling Capacity (BTUs)
- A 12V unit typically ranges from 6,000 to 12,000 BTUs
- For full-size vans like Sprinters or Transits, aim for at least 10,000 BTUs
- Smaller builds may do fine with less, especially with good insulation
Type of Unit
There are two main options:
- Rooftop Units: Permanent, sleek install. Ideal for full-timers.
- Small Portable Air Conditioner for Campers: Easier to move, but less efficient and require venting
Energy Efficiency
Look for inverter compressors and brushless fans. These reduce power draw and extend battery life.
Noise Level
Some units run whisper-quiet,others, not so much. Look for decibel ratings under 60 dB for a peaceful night.
Power System Compatibility
Before you install anything, make sure your battery setup (especially if you’re running lithium) can handle the draw. You'll likely need:
- At least 200Ah of lithium batteries
- 300W+ solar
- A DC-DC charger for alternator charging
Top 12V Camper Van Air Conditioners
Here’s a comparison of top-rated units that balance efficiency, power, and install simplicity.
|
Model |
BTUs |
Power Draw |
Price Range |
Weight |
Notes |
|
Nomadic Cooling X2 |
12,000 |
55A @ 12V |
$$$$ |
60 lbs |
Powerful, reliable, quiet |
|
Mabru RV 12000 |
12,000 |
60A @ 12V |
$$$ |
62 lbs |
Marine-grade build quality |
|
Fresair S6 |
6,000 |
10A @ 12V |
$$ |
25 lbs |
Evaporative, low energy, dry air struggles |
|
Zero Breeze Mark 2 |
2,300 |
20–25A @ 12V |
$$$ |
16.5 lbs |
Portable, best for small vans |
Portable vs Rooftop 12V ACs: What’s Right for You?
Portable Units
- Lightweight
- No permanent install
Lower BTU output
Often louder
Need window/door venting
Rooftop Units
- High-performance cooling
- Professional look
- Long lifespan
Requires roof cutout
More power draw
If you’re a weekend warrior with minimal power needs, a portable unit might work. But for full-timers or serious road trippers, a rooftop 12 volt air conditioner for van setups is worth every penny.
Budget Guide: Total Setup Cost
Here’s a rough breakdown:
- AC Unit: $2,000–$3,500
- Professional Install (optional): $1,000–$2,000
- Battery + Solar Upgrade: $2,000–$4,000
- DIY Tools & Hardware: $100–$300
Total DIY Cost: ~$3,000–$5,500
Total Pro Install: ~$5,000–$8,000
Looking to leave the install to the pros? Our Repairs & Installation Service offers full HVAC upgrades in Boulder, Colorado. Book your appointment here
Installing a 12V AC Unit in Vanlife: Step-by-Step Guide
Ready to get hands-on? Installing a 12V AC unit in vanlife builds isn’t impossible,just follow the steps below.
Bench Test the AC
- Test the unit on the ground before installing to confirm it powers up and functions.
Determine Your Location
- Most go rooftop, centered for balance
- Avoid solar panels or structural beams
Prepare the Opening (Rooftop Units)
- Mark your cut carefully
- Use a jigsaw or oscillating tool
- Seal any exposed metal edges
Install the Gasket
- Comes with your AC unit
- Prevents leaks,do not skip this!
Mount the AC Unit
- Carefully lower it into place
- Secure using provided hardware
- Add butyl tape or lap sealant as needed
Wiring
- Route to your DC fuse panel or breaker box
- Use properly sized wire and fuses (check manual)
- If wiring is complex, consult an expert
Ducting and Venting (if applicable)
- Some units have optional ducting for multi-zone cooling. Others vent directly.
Insulation
- Without good insulation, your AC will work overtime. Focus on:
- Ceiling and walls
- Window covers
- Thermal breaks in floors
Final Testing
- Fire it up
- Check amperage draw
- Verify cooling performance
Maintenance Tips for Longevity
- Clean filters monthly
- Inspect seals twice a year
- Don’t run the AC with voltage under 11.5V
- Use a voltage cut-off relay to protect batteries
Final Thoughts: Choosing the Best Van Life Air Conditioner for Your Setup
Finding the best van life air conditioner depends on your travel style, layout, and budget. If you’re planning long-haul summer travel or full-time vanlife, investing in the best 12V air conditioner for van comfort is essential. Need help designing the rest of your off-grid setup?
Check out our Customize Your Van page to explore battery systems, insulation, and everything in between.
At The Vansmith, we build with purpose,and we build for adventure. Whether you’re adding camper van air conditioning or planning a full electrical overhaul, we’re here to help you stay cool, comfortable, and wild on the road.
FAQs
-
How much does it cost to add AC to a van?
Costs range from $3,000–$8,000 depending on the unit, battery system, and whether you DIY or hire a pro.
-
Can you install air conditioning in a van?
Yes! Both rooftop and portable 12V AC units can be installed in vans, depending on your layout and power setup.
-
How much power does a 12V AC unit use?
Units like the Nomadic X2 draw around 55 amps at 12V. You’ll want a solid lithium battery bank and solar to keep it running efficiently.
